How to Choose a Solar Street Light (Municipal & Road Projects)
Specifying solar street lighting for a road, estate or municipal project comes down to six decisions. Get these right and the lights perform for years; get them wrong and you're back on site within a season.
The contractor who specified the wrong wattage for a municipal road goes back to site in month eight with dark gaps between poles. The one who chose cheap lithium-ion for a tropical climate gets a call in year two about lights shutting off before midnight. The one who skipped the radar sensor finds the battery flat by 4am in winter. None of these failures happen if the spec is right from the start — and getting it right comes down to six decisions.
1. Match Wattage and Lumens to the Road Class
Start with the job, not the wattage. Road class determines the required illuminance (lux) at ground level, and that determines the fixture output (lumens) and pole spacing needed to achieve it. The relationship between wattage and lumens also depends on the fixture's luminous efficacy (lumens per watt) — quality all-in-one street lights achieve 150–180 lm/W; budget units may deliver 100–120 lm/W for the same stated wattage.
| Road / application type | Recommended output | Typical wattage | Pole spacing |
|---|---|---|---|
| Path, driveway, lane | 2,000–5,000 lm | 30–50W | 15–20m |
| Residential street | 5,000–8,000 lm | 60–80W | 20–30m |
| Collector road, estate road | 8,000–12,000 lm | 80–120W | 25–35m |
| Arterial / trunk road | 12,000–20,000 lm | 150–200W | 30–40m |
| Highway / large yard | 20,000+ lm | 200–300W | 35–50m |
Over-spec costs money without improving performance. Under-spec leaves dark gaps between poles. For tender submissions, suppliers should provide a photometric simulation (DIALux or similar) confirming the lux levels on the road surface at the proposed pole spacing.
2. All-in-One or Split System?
This decision determines installation complexity, long-term serviceability, and how well the fixture handles shading or non-ideal orientations.
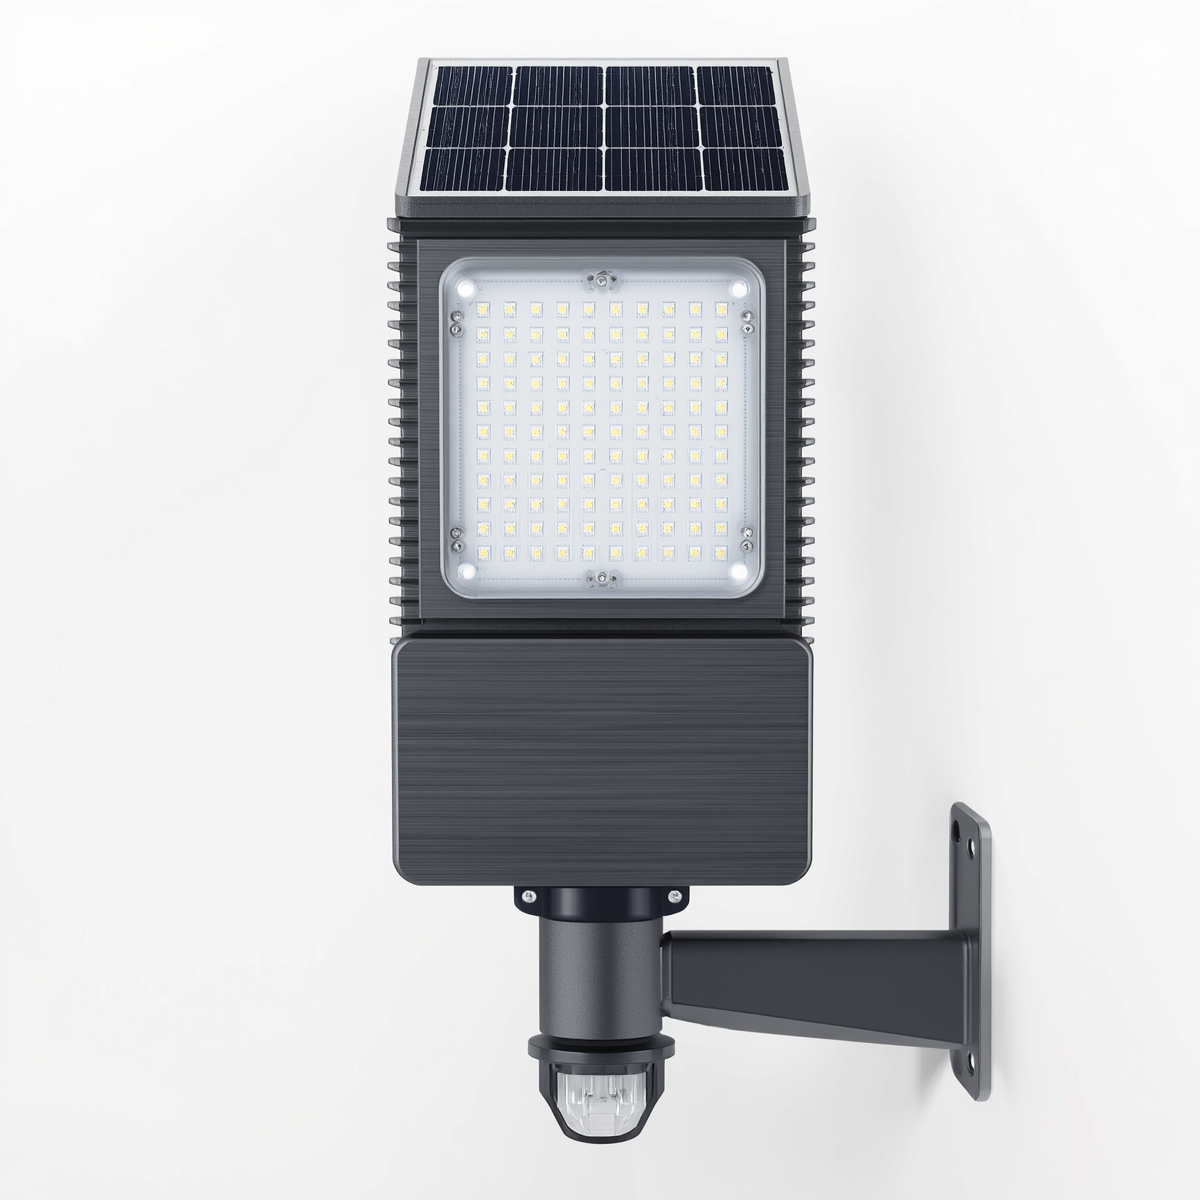
All-in-one solar street lights integrate the panel, battery, LED head, and charge controller in a single housing mounted directly on the pole arm. They are faster to install — typically 30–60 minutes per pole with a small team — and lower cost per pole. They work best on open roads running broadly east–west where the south-facing panel can receive maximum sun. The entire unit is at height, which simplifies installation but means any maintenance (battery replacement at year 5+) requires a vehicle lift.
Split solar street lights separate the panel from the lamp head. The panel is mounted independently — on the pole at an adjustable angle, on a separate mast, or on a nearby rooftop — while the lamp head attaches to the pole arm. This solves three problems: partial shading (the panel can be positioned clear of obstructions), orientation (the panel angles to the sun regardless of the road direction), and maintenance (the lamp head can be serviced independently). Split systems cost more per pole and take longer to install, but are the correct choice for north–south roads, tree-lined streets, or projects where 10-year lifecycle cost matters.
Rule of thumb: choose all-in-one for open, sunny, east–west corridors and projects where installation speed is a priority. Choose split for shaded sites, north–south road alignments, and high-value municipal projects where long-term reliability is the primary requirement.
3. Size the Battery for Your Worst Week, Not Your Best Day
Battery sizing is the specification decision most often made incorrectly. A solar street light specified to "work on a sunny day" will go dark during the rainy season, winter, or any cloudy spell — which is precisely when reliable road lighting matters most.
The relevant metric is autonomy days: how many consecutive nights the fixture operates at design output without any solar recharge. For equatorial Africa (consistently sunny year-round): 2 days minimum. For the Sahel or Southern Africa (seasonal cloud and haze): 3 days. For temperate climates or regions with distinct rainy seasons: 3–5 days.
Battery autonomy is determined by the relationship between battery capacity (Wh), the fixture's nightly energy consumption, and the expected night duration. A 100W fixture running in dim mode (20W) for 12 hours with motion-triggered full brightness consumes roughly 80–120 Wh per night. A 3-day autonomy buffer therefore requires 240–360 Wh of usable battery capacity.
Chemistry matters as much as capacity. LiFePO4 (lithium iron phosphate) delivers 2,000–4,000 charge cycles and maintains performance at operating temperatures up to 60°C — critical for roof-mounted or sun-facing fixtures in tropical markets. Standard lithium-ion cells (NMC/NCR) begin degrading above 40°C and are rated for 500–800 cycles. Specifying LiFePO4 for a project in West Africa, the Sahel, or South Africa is not a premium choice — it is the correct engineering decision.
4. Demand IP66 as the Minimum
Solar street lights are exposed to weather continuously for years. The IP rating defines the fixture's protection against dust and water ingress under IEC 60529 testing. For street lighting, IP66 is the engineering minimum — not a premium feature.
IP66 means the fixture is completely dust-tight (the "6" first digit) and withstands high-pressure water jets from any direction (the "6" second digit, tested at 100 litres/minute through a 12.5mm nozzle for 3 minutes). This covers monsoon rain, dust storms (common in the Sahel and Arabian Peninsula), and pressure washing during maintenance.
IP65, while adequate for wall-mounted garden lights in sheltered positions, is not sufficient for a pole-mounted street light exposed to driving rain at altitude. Specifying IP66 on a tender protects you from field failures that result from sub-standard ingress protection.
For coastal installations within 5–10 km of the ocean, additionally check housing material: die-cast aluminium alloy with a marine-grade powder coat or anodised finish is significantly more corrosion-resistant than painted steel or ABS plastic at the same IP rating.
5. Specify Radar Sensing for Road Applications
Motion sensing is what allows solar street lights to operate economically through long nights, cloudy periods, and winter months. Without sensing, the light runs at full brightness all night — flattening the battery and shortening autonomy. With sensing, the fixture dims to 20–30% output between traffic events and rises to full brightness when a vehicle or pedestrian is detected.
For road applications, microwave radar sensing is strongly preferred over PIR (passive infrared):
- PIR detects body heat signatures at 8–12m. Works well for pedestrian applications but misses vehicles at speed, is affected by temperature extremes (poor in very hot climates where ambient temperature approaches body temperature), and cannot detect through glass or rain.
- Radar detects motion via microwave reflection. It detects vehicles at 10–20m regardless of temperature, works through rain, and triggers reliably at vehicle speeds (40–80 km/h). It is the correct sensor type for any mixed-traffic road application.
For pedestrian-only paths, PIR is adequate and cheaper. For any road carrying vehicles — including estate roads and commercial car parks — specify radar.
6. Confirm Pole Fit, Mounting, and Certification
Pole compatibility: All-in-one solar street lights mount to a pole arm via a clamp bracket. Confirm the bracket diameter matches your poles (typically 48mm, 60mm, or 76mm outer diameter for standard galvanised steel poles). Specify whether you need the bracket included or will use existing arms. The arm angle (typically 0°, 5°, or 15° tilt) affects panel orientation and should be confirmed for your latitude.
Certification requirements: For most export markets, CE and RoHS are the minimum documentation requirements. CE marking demonstrates conformity with EU technical directives and is accepted as a quality baseline in most African and Latin American markets. RoHS certifies absence of restricted hazardous substances.
For specific markets, additional documentation may be required:
- West Africa (ECOWAS): SONCAP certificate required for import into Nigeria; facilitates customs clearance across the region
- South Africa: SABS mark for locally-certified products; CE accepted in most government tenders
- Government tenders (most markets): Test reports from accredited labs confirming lumen output, IP rating, and battery capacity — request these specifically, not just the CE declaration
Reputable suppliers provide CE certificates, RoHS declarations, and LM79 photometric test reports with every quotation. If these documents require chasing, treat it as a supply chain risk indicator.
Common Specification Mistakes
- Specifying wattage without confirming lumens: A "100W" fixture from different suppliers can deliver anywhere from 8,000 to 18,000 lm depending on LED efficacy. Always specify lm output and request a photometric report.
- Ignoring pole spacing: Even a correctly-specified fixture creates dark gaps if poles are too far apart. Confirm spacing in the layout design, not just at the point of supply.
- Accepting "lithium battery" without chemistry confirmation: Ask explicitly for "LiFePO4" in writing. "Lithium battery" in a datasheet almost always means standard Li-ion unless LiFePO4 is stated.
- Designing for average solar conditions: Specify battery autonomy for the worst-case period — rainy season, not annual average.